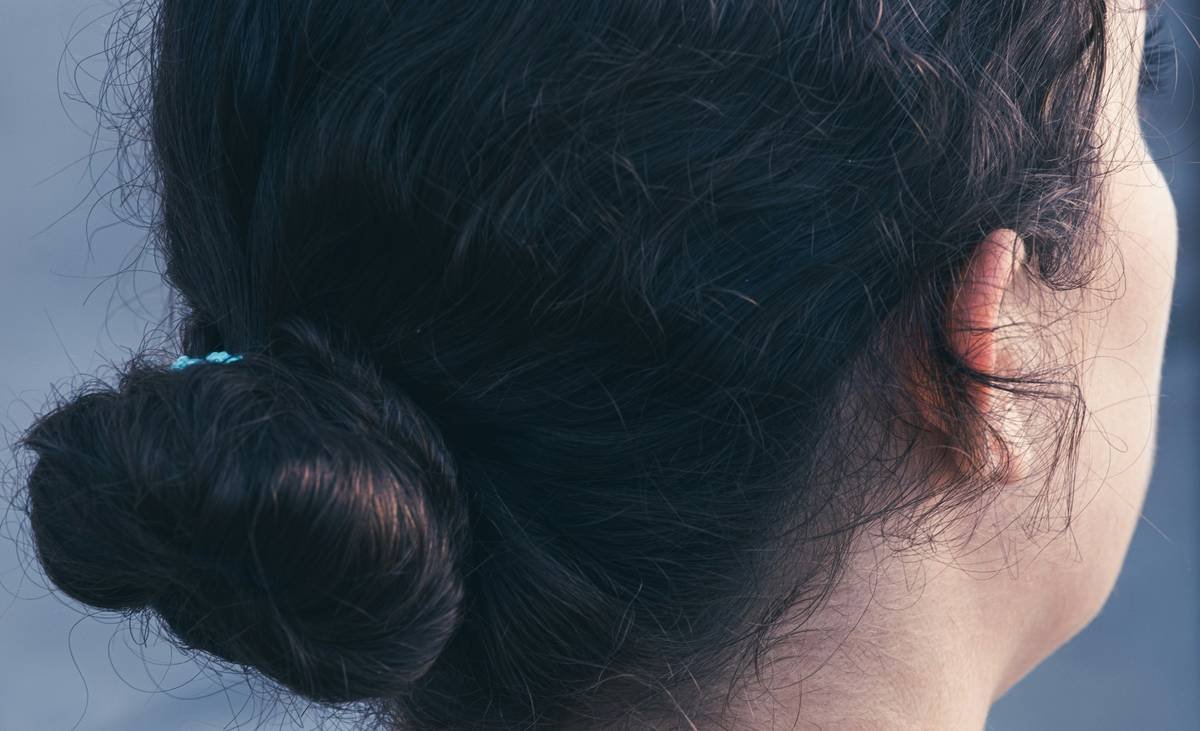
Ever spent 20 minutes wrestling your hair into a “perfect” bun—only to have it collapse the second you walk out the door? Or worse: you pinned, sprayed, and twisted… and still ended up looking like you just survived a wind tunnel? Yeah. We’ve all been there.
If you’re chasing that elusive balance between polished and perfectly undone—where “messy” reads as “effortlessly cool,” not “I gave up”—you’re in the right place. In this guide, you’ll discover how to master messy bun updos that hold all day, flatter every hair type and texture, and actually look intentional (not accidental). You’ll learn the exact tools pros use, styling hacks for fine or thick hair, common mistakes that sabotage your look—and yes, even how to make a messy bun survive school drop-off, Zoom calls, and 90-degree humidity.
Table of Contents
- Why Are “Easy” Messy Buns So Hard to Nail?
- Step-by-Step Guide to a Stay-All-Day Messy Bun
- Pro Tips for Texture, Volume & Hold
- Real-Life Case Studies from the Chair
- Messy Bun FAQs
Key Takeaways
- Messy bun updos aren’t about laziness—they require strategic texture and tension control.
- The secret weapon? A spin pin or U-shaped clip—not just bobby pins.
- Hair type dictates prep: fine hair needs grip; thick hair needs sectioning.
- Over-brushing is the #1 reason messy buns fall flat (literally).
- Spray technique matters more than product volume—mist from 12 inches away.
Why Are “Easy” Messy Buns So Hard to Nail?
Let’s be real: the “messy bun” got famous because celebrities like Gigi Hadid and Emma Watson wore them post-gym or on red carpets looking both casual and utterly put-together. But if you’ve tried replicating that vibe, you know it’s deceptively tricky. According to a 2023 survey by Allure, 68% of women rank the messy bun as their go-to hairstyle—but 54% admit theirs never looks as good as Instagram influencers’.
The problem? Most tutorials skip the foundational physics: controlled looseness. A true messy bun isn’t random—it’s structured chaos. Without enough base texture, your hair slips. Without balanced tension, it sags. And if you slick it back too neatly before twisting? You’ve already ruined the illusion.
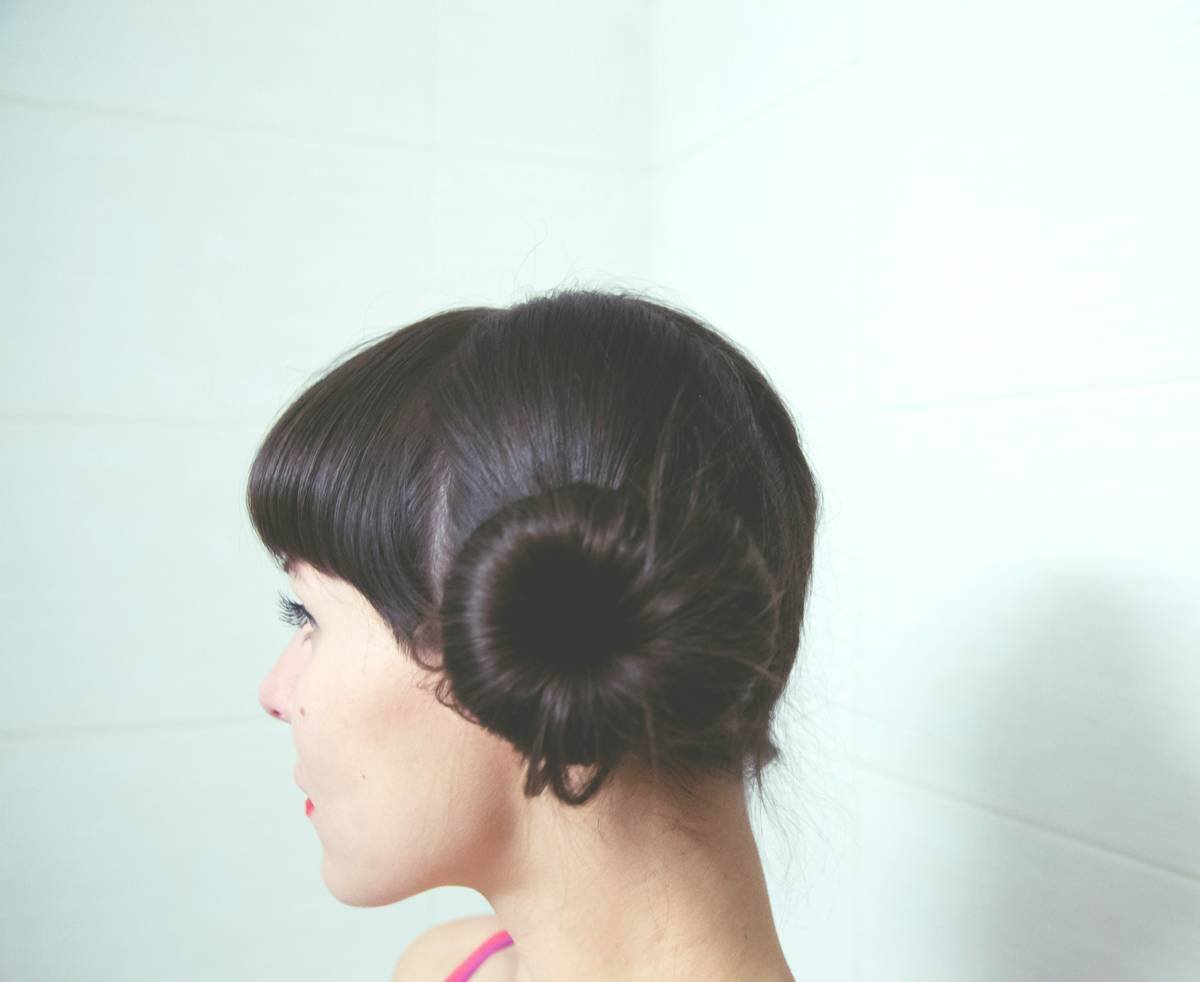
Confessional fail: I once showed up to a bridal trial with my client sporting what I thought was a “boho-chic” messy bun. By ceremony time? It had migrated south like a slow-motion landslide. Lesson learned: gravity doesn’t care how cute your scrunchie is.
Step-by-Step Guide to a Stay-All-Day Messy Bun
Here’s the exact method I use in-salon—and teach to clients who want salon-worthy results at home. This works for straight, wavy, curly, coiled, fine, thick—you name it.
Step 1: Start with Day-Old Hair (Or Fake It)
Clean hair = slippery hair. If you washed today, spritz dry shampoo at the roots and crown. Massage it in with your fingertips—it adds grit, not just absorbs oil. For curly/coily textures, refresh with a light water-based curl refresher spray instead.
Step 2: Tease Strategically, Not Randomly
Flip your head forward. Use a rattail comb to gently backcomb small sections at the crown and along the sides—just enough to create lift, not tangles. Pro move: stop after 3–4 strokes per section.
Step 3: Gather With Purpose
Don’t pull everything into a high ponytail immediately. Instead, gather hair loosely at your desired height (nape for low, crown for high). Leave out face-framing pieces—even 1–2 strands soften the look.
Step 4: Twist, Don’t Wrap Tight
Twist the ponytail loosely around its base. Let loops fall naturally—no need to tuck ends neatly. Secure with a spiral pin (like Goody Ouchless Spin Pins) OR a U-clip for thicker hair. Bobby pins alone often fail under weight.
Step 5: Pull & Loosen Like a Sculptor
Now comes the magic: gently tug small sections around the bun’s perimeter outward. Aim for asymmetry. One side fuller? Perfect. This creates dimension and hides imperfections.
Step 6: Set With Smart Hairspray
Hold can 12 inches away. Mist in short bursts—don’t drench. Focus on the outer halo, not the base. Over-spraying = crunchy helmet hair.
Pro Tips for Texture, Volume & Hold
Optimist You: “These tricks will transform your bun in 60 seconds!”
Grumpy You: “Ugh, fine—but only if I don’t have to buy ten new products.”
Good news: you likely own half these items. Here’s how to maximize them:
- Swap your elastic: Use a snag-free spiral hair tie (like Invisibobble) to avoid creases and breakage.
- Add salt spray pre-twist: A few spritzes of texturizing spray (e.g., Bumble and Bumble Surf Spray) boosts grip for fine hair.
- Section thick hair: Divide your ponytail into two before twisting—creates a fuller bun without bulk.
- Hide greasy roots with powder: Lightly dust translucent setting powder along part lines using an eyeshadow brush.
- Never brush after gathering: Brushing smooths out the very texture that makes messy buns work.

🚫 Terrible Tip Disclaimer
“Use a toothbrush to smooth flyaways.” Nope. Toothbrush bristles are too stiff and can cause micro-tears in fragile hair. Use a clean spoolie brush or a tiny amount of clear brow gel instead.
Rant Section: My Pet Peeve
Why do so many tutorials say “just twist and go”? Hair isn’t duct tape—it has memory, density, and porosity! Saying “anyone can do this in 10 seconds” erases the real work of understanding your texture. Your hair deserves respect, not rushed hacks.
Real-Life Case Studies from the Chair
Client A – Fine, Straight Hair (Postpartum Shedding):**
Struggled with buns that deflated by lunchtime. Solution: applied dry shampoo + light mousse at roots before styling, used a double-loop technique with spiral pins. Result: held through daycare pickup and grocery runs.
Client B – Thick, Coily Hair (Type 4C):**
Previous attempts left scalp sore and bun too tight. Switched to satin-lined scrunchie + pineapple method (gathering at crown), secured with XL U-clips. Added shea butter to ends pre-twist for definition. Now wears it weekly with zero tension headaches.
Both cases prove: customization beats cookie-cutter advice. Your messy bun should feel comfortable—not like a hair prison.
Messy Bun FAQs
How do I stop my messy bun from falling apart?
Anchor with the right tool (spiral pins > regular bobby pins for most), and never skip the texture step. Clean, smooth hair lacks friction.
Can I do a messy bun with short hair?
Absolutely! If your hair reaches ear-lobe length, gather what you can into a mini top-knot or side knot. Use clear elastics and secure loose ends with mini pins tucked under.
What’s the difference between a messy bun and a sloppy bun?
Intentionality. A messy bun has volume at the crown, varied loop sizes, and face-framing pieces. A sloppy bun is flat, centered too low, and lacks dimension.
Is it bad to wear a messy bun every day?
Only if it’s too tight. Loose styles are generally safe. Just rotate placement (high, mid, low) to avoid traction alopecia.
Conclusion
Messy bun updos aren’t just a lazy-day compromise—they’re a legit styling art that blends structure and softness. With the right prep, tools, and mindset, you can create a look that says “I woke up like this” (even if you actually spent 7 minutes perfecting it). Remember: texture is your ally, tension is your enemy, and gravity is always watching. Master those, and your bun won’t just survive the day—it’ll steal the show.
Go twist something beautiful.
Like a butterfly clip in 2003, some classics never fade—they just get better with time.