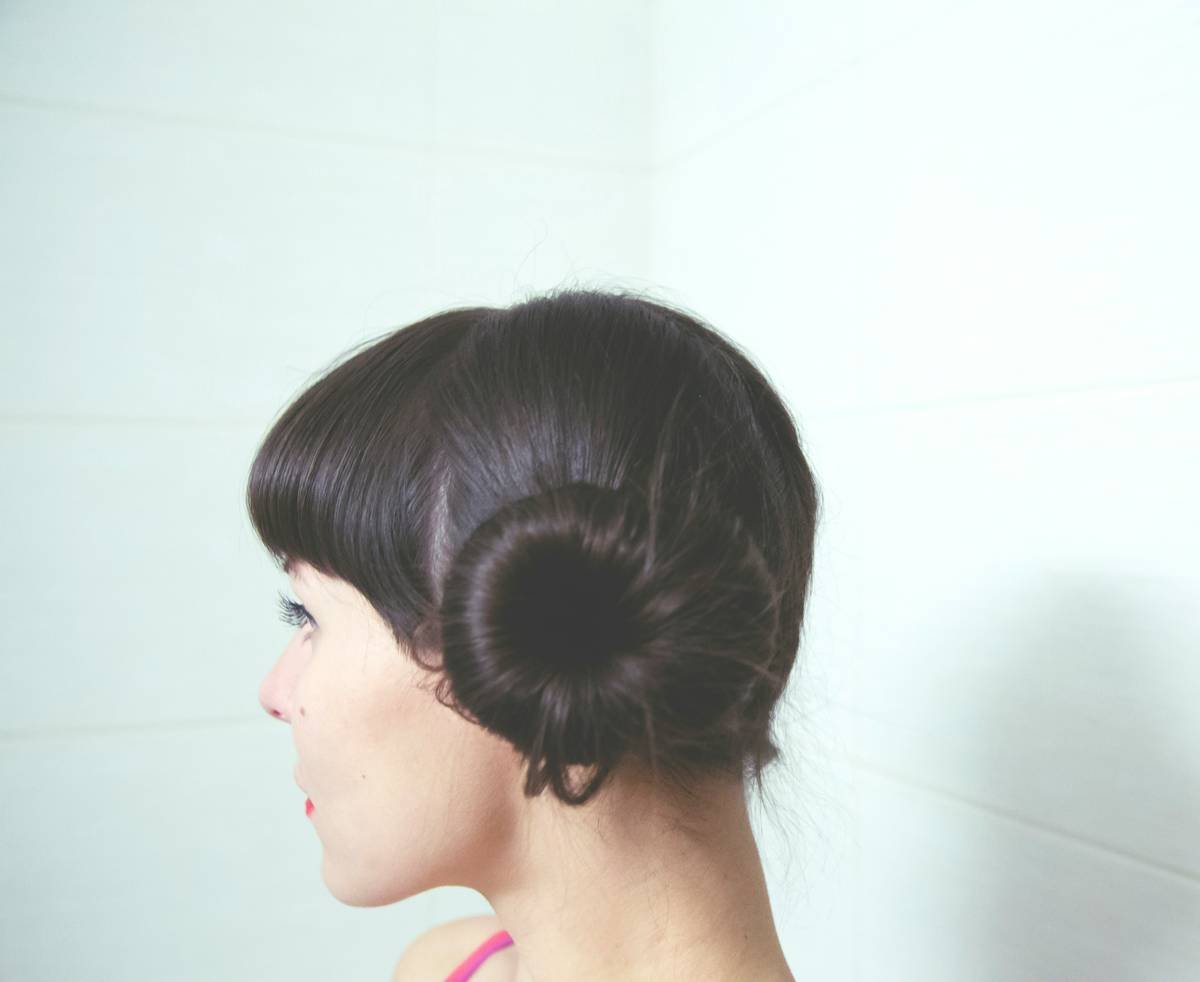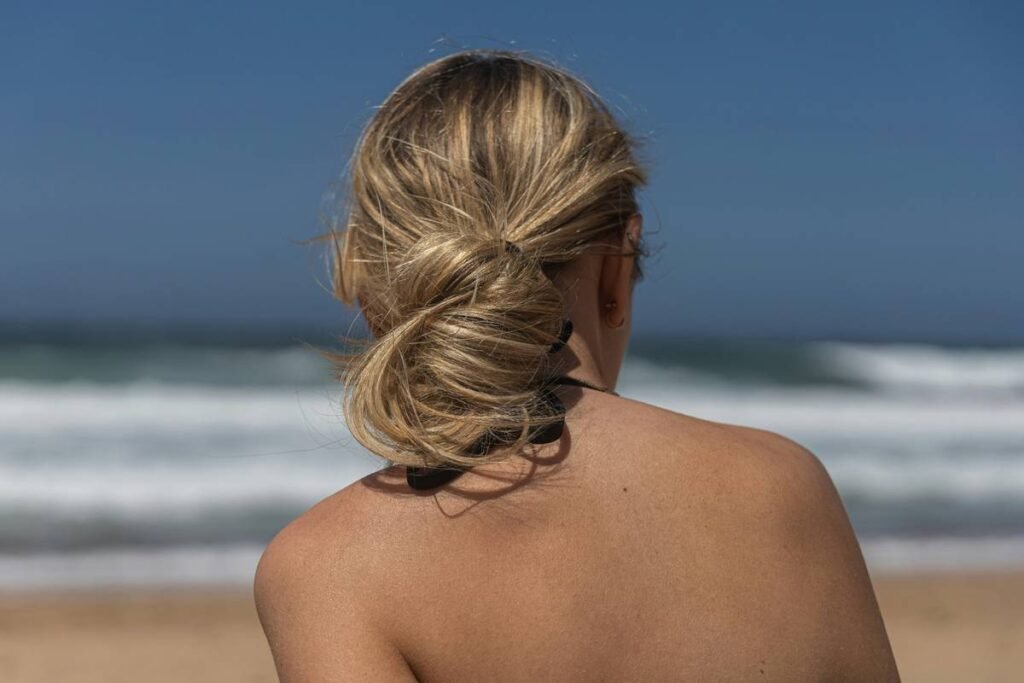
You’ve tried the messy bun. The high ponytail. Even that Pinterest-worthy twist. But when it’s time for something refined—sophisticated bun looks that whisper “I’ve got my life together”—things fall apart (literally). Hair slips. Pins vanish. And you end up looking polished only from the front… while chaos reigns at the back. Here’s the fix: elegance isn’t about complexity—it’s about precision + the right accessories.
Why Most Buns Fail to Look Sophisticated
Most tutorials treat all buns as equal. They’re not. A true sophisticated bun look balances tension, texture, and structure—three elements 90% of DIY attempts ignore. And those flimsy spin pins? They work fine for gym days—not galas.
Here’s the reality: slicked-back perfection on fine hair collapses within an hour. Coarse, thick hair fights neat wrapping unless pre-treated. You can’t brute-force sophistication. It’s geometry, not gymnastics.
How to Create Sophisticated Bun Looks That Last
Prep Like a Pro—Not a Passenger
Start with day-old hair. Freshly washed strands are too slippery. If your hair is ultra-clean, add a rice-starch-based dry shampoo—not aerosol sprays that leave residue. Brush through gently. Then, apply a dime-sized amount of lightweight mousse from mid-length to ends. Not roots. Never roots.
Section With Surgical Precision
Split hair cleanly at the crown. Lower buns demand a part just above the nape; higher chignons sit level with the tops of your ears. Use a rattail comb—not your fingers. Fingers create uneven tension. Comb lines? Invisible once wrapped.
Wrap Tight, Secure Smart
Twist in one direction only. Clockwise or counterclockwise—pick one and stick with it. Wrap around a matte-finish donut bun form (satin slips). Then, anchor with U-pins—not bobby pins—angled downward like staples. Two in the base. Two crisscrossed through the center. One hidden beneath for insurance.
| Method | Hair Type Suitability | Hold Duration | Accessory Cost |
|---|---|---|---|
| Classic Low Chignon | Fine to Medium | 6–8 hours | $5–$12 (U-pins + mesh donut) |
| Voluminous High Bun | Thick, Coarse | 4–6 hours | $8–$15 (texturizing spray + reinforced pins) |
| Twisted Ballet Bun | All Types (with prep) | 8+ hours | $6–$10 (matte donut + 4 U-pins) |
The Industry Secret: It’s All in the Finish Coat
Salon stylists don’t lock buns with hairspray first—they finish with it. Mist from 12 inches away in short bursts, then press stray ends into place with a boar-bristle brush wrapped in a microfiber cloth. This seals without crunch.
But here’s what no one tells you: humidity resistance comes from below the surface. Before styling, apply a pea-sized drop of silicone-free serum to your scalp line. It repels moisture without weighing hair down. Game-changer for monsoon weddings or summer soirées.
And—yes—this works even if you’re using extensions. Just match the donut color to your root shade, not your ends.
Frequently Asked Questions
Can I achieve sophisticated bun looks with short hair?
Yes—if your hair reaches neck length. Use mini donuts and wrap in overlapping loops. Secure every layer.
How do I prevent dents from bun forms?
Don’t pull too tight. Leave slight give. Remove the donut after 4 hours if wearing all day.
Are sophisticated bun looks appropriate for casual events?
Absolutely. Loosen one side slightly, add a tortoiseshell clip—elegant but effortless.