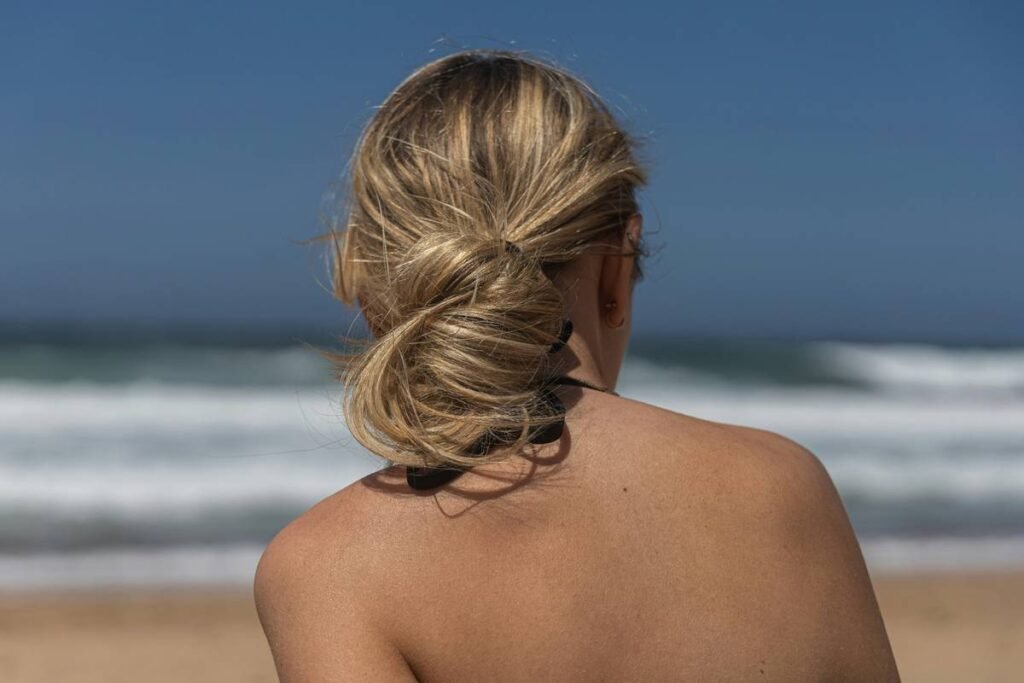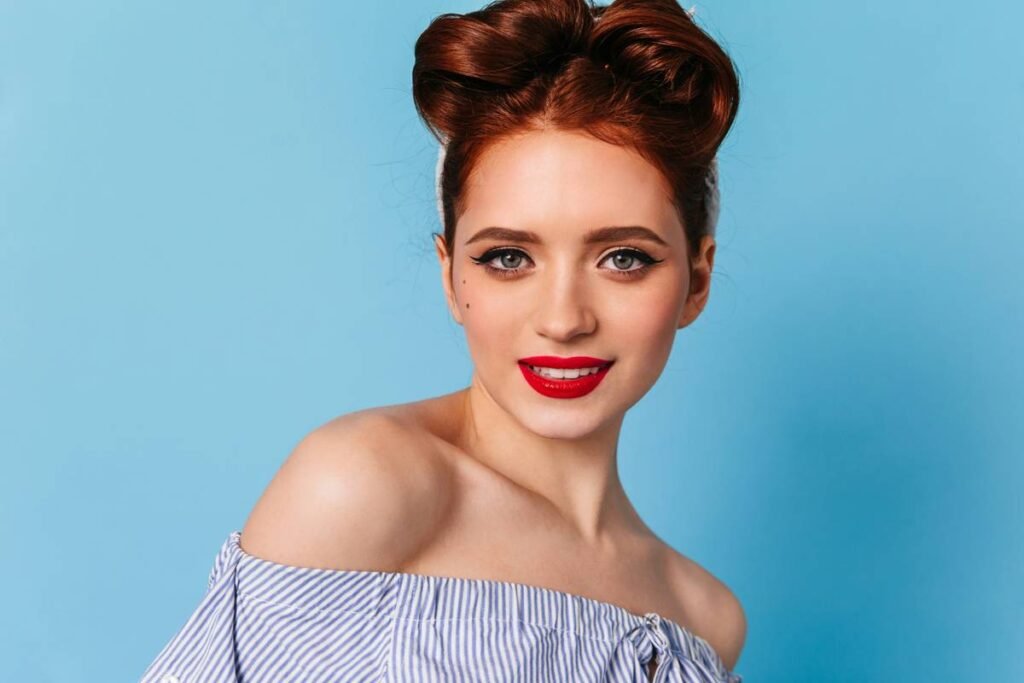
Most buns look rushed. Tired. Like an afterthought. You twist, you tug, you pin—only to end up with something that screams “I gave up.” The frustration? Real. But here’s the fix: luxurious bun hairstyles aren’t about complexity—they’re about intentionality. Precision. One thoughtful detail can elevate your entire presence.
Why Your Bun Always Looks… Meh
Because you’re treating it like a quick exit strategy—not a statement. Standard tutorials promise “easy” but deliver flat, lifeless knots pinned too tight or too loose. They ignore texture, tension distribution, and the subtle geometry of head shape. And most rely on cheap donuts that collapse under their own weight by noon.
The math is simple: volume without structure = frizz. Structure without softness = helmet hair. You need both.
luxurious bun hairstyles: The 5-Minute Ritual That Feels Like Couture
Forget hour-long set-ups. Real elegance thrives in restraint. Follow this sequence—it works whether your hair is fine, thick, curly, or heat-damaged.
Prep Like a Pro—Not a Passenger
Start with second-day hair. Slightly dirty = more grip. Spritz dry shampoo at the roots—not for oil absorption, but for texture. Then, brush through with a boar-bristle paddle. It redistributes natural oils while taming flyaways without flattening volume.
Section With Purpose
Don’t just gather everything into a ponytail. Create a soft, horizontal part from ear to ear. Clip the top half up. Work the lower section first—it forms the bun’s foundation. This prevents that dreaded “floating knot” look.
Twist, Don’t Wrap
Here’s where everyone stumbles. Stop wrapping hair around a base. Instead, loosely twist the ponytail from mid-shaft to ends, then coil it upward—like stacking rope on a ship deck. Secure with 2–3 matte-finish pins (never shiny!). Angle pins diagonally for invisible hold.

Add Dimension—Not Bulk
Pull gently at the sides of the bun to create soft volume. Not puffiness—dimension. Think architecture, not cotton candy. A few strategic face-framing strands? Yes. But keep them intentional: one arc over the temple, not random wisps.
| Method | Hold Duration | Tools Needed | Best For |
|---|---|---|---|
| Classic Donut Bun | 2–4 hours | Synthetic donut, elastic | Thick, straight hair |
| Twisted Coil (Pro Method) | 8+ hours | Matte bobby pins, texturizing spray | All textures, especially fine or layered cuts |
| Gibson Tuck | 6–8 hours | Rat-tail comb, U-pins | Medium to long hair, vintage lovers |
The Industry Secret No Salon Will Tell You
Texture > Tightness. Most stylists over-pin because they fear collapse. But movement is what makes a bun feel alive. The real secret? Use fewer pins—but place them where tension naturally occurs: the base pivot point and the coil’s tail end. Also—spray your pins with light-hold hairspray before inserting. They grip better without making hair crunchy. This tiny pre-step? It’s why red carpet buns survive wind machines and paparazzi scrums.
Frequently Asked Questions
Can I achieve luxurious bun hairstyles with short hair?
Yes—if your hair reaches neck length. Use a mini twist-and-tuck method. Tease the crown slightly for lift, then coil only the longest layers. Hide shorter pieces under the bun with crossed pins.
How do I stop my bun from slipping?
Prep hair with texture spray, not gel. Gel creates slip. Texture spray adds micro-grip. Also, avoid tying your initial ponytail too high—it shifts weight forward and pulls down.
Are silk scrunchies better than elastics?
Only for the initial gathering. Silk reduces breakage, but won’t hold a bun alone. Switch to a thin, matte elastic for the ponytail base, then secure with pins—not fabric.