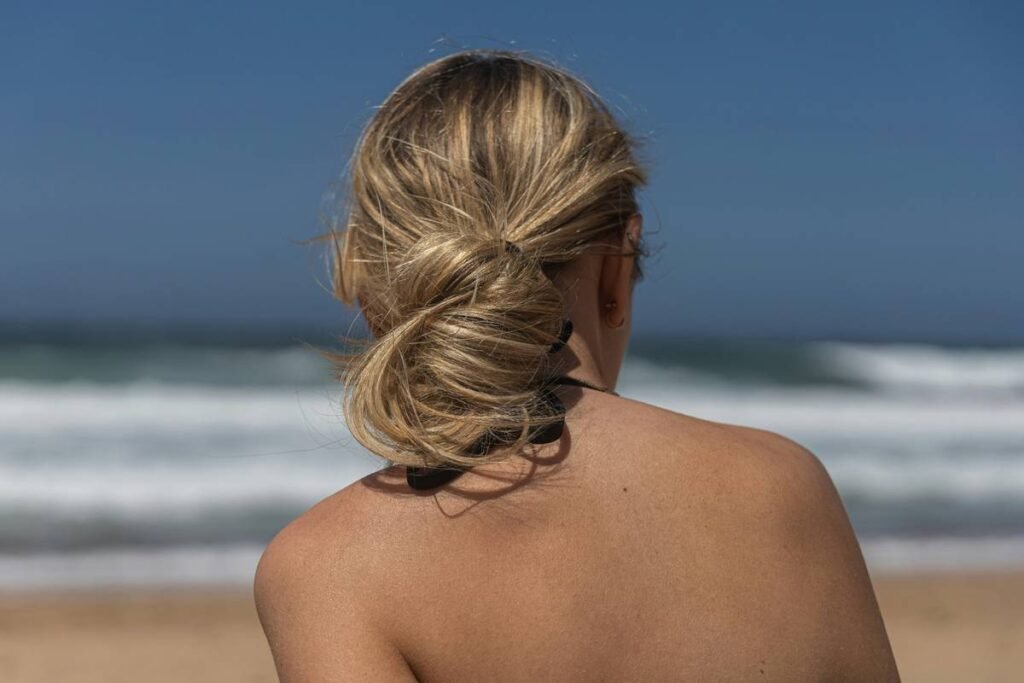
You’ve tried the messy bun. You’ve pinned it, twisted it, even slept in rollers hoping for that red-carpet finish. But somehow, it still looks… off. Like something’s missing—structure, polish, intention. The frustration? Real. Because a truly elegant updo shouldn’t require three bobby pins and a prayer. Here’s the fix: classy bun arrangements built on precision, not luck.
Why Your Bun Never Looks “Expensive”
Most tutorials sell you speed over substance. They skip the foundation—tension balance, hairline framing, weight distribution. And if your base is wobbly, even silk-finish pins won’t save it.
Salon stylists don’t just twist and tuck. They sculpt. They know that a bun’s elegance lives in its silhouette—not how fast it’s done, but how deliberately it’s shaped. Yet 90% of online guides ignore this entirely. No wonder your mirror lies to you.
Step-by-Step Guide to Timeless Classy Bun Arrangements
Forget “easy updos.” True sophistication demands method—but not complexity. Follow this refined sequence:
Prep With Purpose: Texture Over Clean Hair
Washing your hair the morning of? Stop. Day-old hair grips better. If freshly washed, use a lightweight texturizing spray—never dry shampoo near the roots (it flakes under tension).
Partition With Precision
Split cleanly at the occipital bone—the bump at the back of your skull. Everything below becomes your base. Everything above? Your crown lift. Mess this line, and your bun slumps like wet dough.
Twist, Don’t Wrap
A common mistake: coiling hair like rope around fingers. Instead, create two equal rope twists from your base section. Then intertwine them *before* wrapping. This adds internal structure—no flyaways, no collapse by hour three.
| Method | Hold Duration | Tools Needed | Elegance Score (1-10) |
|---|---|---|---|
| Messy Twist + Clip | 2–4 hours | 1 claw clip | 4 |
| Rope-Twist Interlace (Pro Method) | 8+ hours | 2 spiral pins, 4 matte bobby pins | 9 |
| Low Chignon with Net | All day | Hairnet, U-pin, teasing comb | 10 |
Pin Strategically—Not Generously
Three well-placed pins beat ten haphazard ones. Anchor at 3, 6, and 9 o’clock around the bun’s perimeter. Slide pins in *parallel* to the scalp—never perpendicular. That’s how pros avoid visible hardware.

The Industry Secret: The “Negative Space” Trick
Here’s what top editorial stylists guard fiercely: elegant buns breathe. They leave intentional gaps—micro pockets of shadow—around the ear or nape. These “negative spaces” trick the eye into seeing dimension, even on fine hair.
And it’s counterintuitive: the tighter you pack, the flatter it looks. Instead, after forming your twist, gently loosen one side with the tail of a rat-tail comb. Just enough to catch light. That subtle asymmetry? It reads as effortless luxury—not effortful trying.
Frequently Asked Questions
How do I keep a classy bun from flattening?
Build volume at the crown *before* gathering hair. Tease a 1-inch section at the part, then smooth over it. The hidden lift holds all day.
Can I achieve elegant bun styles with short hair?
Yes—if you have 6+ inches. Use mini spin pins and tuck ends inward. A polished half-bun with face-framing tendrils screams modern class.
What’s the best finisher for humidity-resistant hold?
A flexible-hold hairspray applied *before* shaping—not after. Mist strands lightly, then twist. The product sets within the structure, not on top.