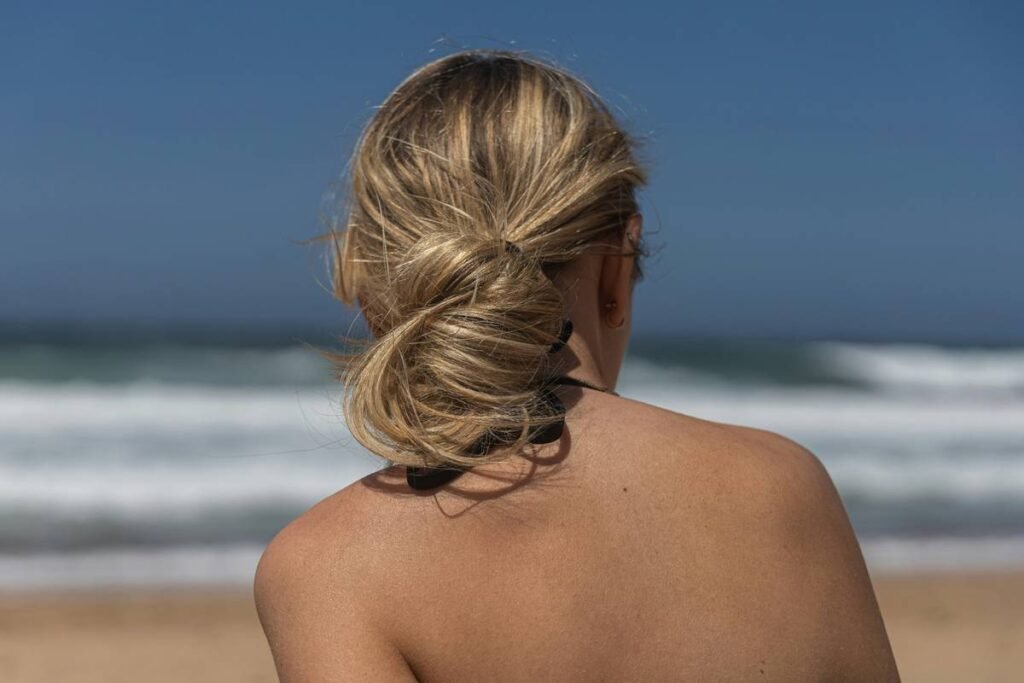
You’ve scrolled past a hundred “easy bun” tutorials. Tried the sock trick, the claw clip hack, even that viral twist-and-pin method. And still—your bun looks rushed, flat, or worse: like an afterthought. Elegant hair bun designs shouldn’t demand 45 minutes or professional hands. They should be attainable, repeatable, and resilient enough to survive coffee runs and Zoom calls. Here’s how to craft them—right.
Why Most “Elegant” Buns Fall Flat (Literally)
Most guides ignore texture dynamics. Fine hair slips. Thick hair bulks unevenly. Curly hair rebels against tension-free zones. And nearly every tutorial assumes you have freshly washed, perfectly dry strands—which nobody does pre-9 a.m. The result? A shapeless knot masquerading as sophistication.
And it’s not about tools alone. It’s about technique alignment with your hair’s behavior—not Pinterest’s fantasy.
Elegant Hair Bun Designs: A Step-by-Step Blueprint for Real Hair
Forget one-size-fits-all. Match your method to your strand type. Precision beats volume here.
For Fine or Slippery Hair: The Grip-Tuck Method
Start with day-old hair—slight oil = grip. Tease the crown lightly, gather into a low ponytail, then wrap sections around the base while securing with crisscrossed bobby pins (angled downward). Finish with a light-hold hairspray misted onto fingertips, then smoothed over surface flyaways.
For Thick or Coarse Hair: The Sectioned Coil
Divide your ponytail into two or three strands before twisting. Twist each tightly, then coil them together like a rope-braid spiral. This prevents bulk explosion. Secure with U-pins at 3 o’clock and 9 o’clock positions—never just at the base.
For Curly or Textured Hair: The Pineapple-to-Bun Transition
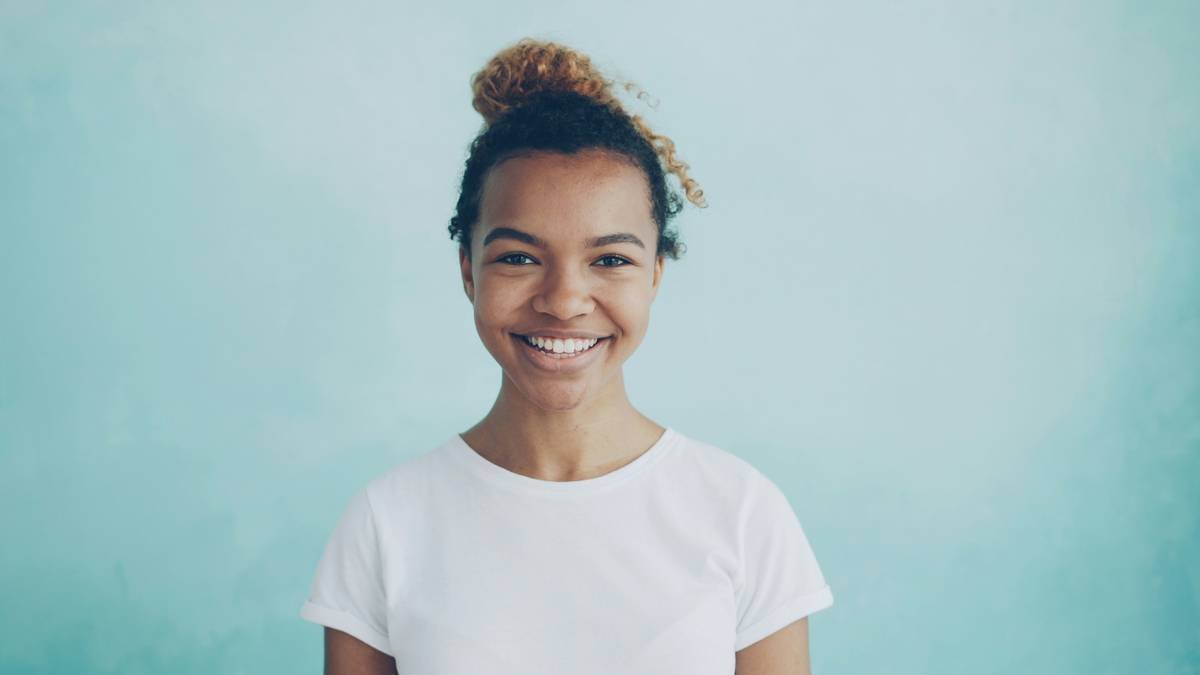
Sleep with hair in a loose pineapple. In the morning, loosen the band slightly, fluff roots with fingers, then gather loosely at nape. Wrap without pulling—let curls nestle naturally. Use flexi rods or satin-covered pins to hold shape without frizz induction.
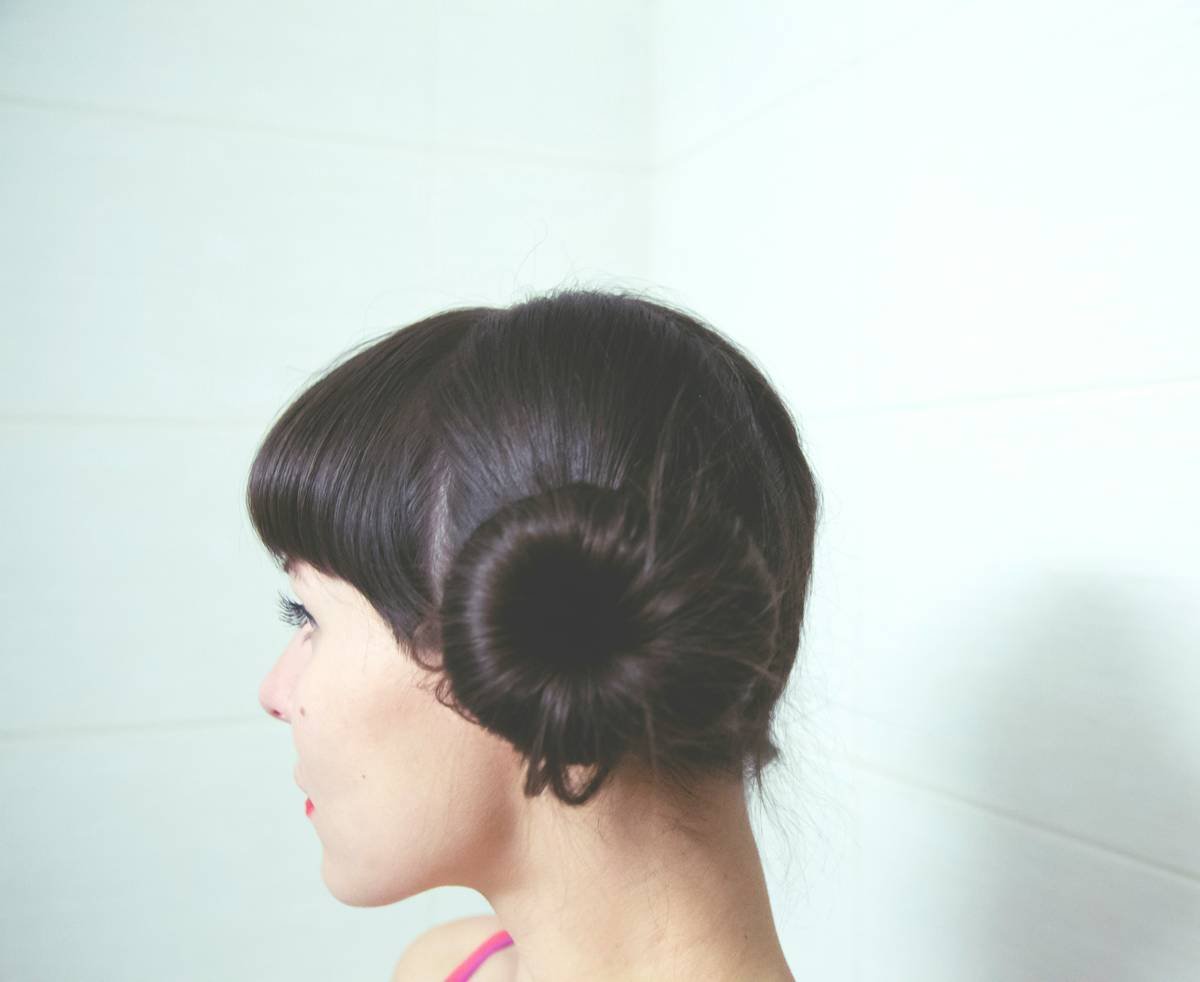
| Hair Type | Best Bun Style | Essential Tools | Hold Duration |
|---|---|---|---|
| Fine / Straight | Low Sleek Chignon | Matte finish spray, thin bobby pins | 6–8 hours |
| Thick / Wavy | Voluminous Twisted Knot | U-pins, texturizing powder | 8–10 hours |
| Curly / Coily | Soft Sculpted Nest | Satin scrunchies, flexi-rods | 10+ hours (with minimal touch-ups) |
The Industry Secret No Salon Will Admit
Texture isn’t your enemy—over-manipulation is. Top session stylists often skip brushing entirely before buns. Why? Natural separation creates organic dimension. Brushing smooths out the micro-lifts that give buns depth. Instead, they finger-comb from ends upward, preserving root volume. And here’s the kicker: they use dry shampoo before washing—applied 12 hours pre-style—to build invisible grip at the scalp. It’s counterintuitive—but it works.
Frequently Asked Questions
How do I keep an elegant hair bun from slipping?
Use day-old hair, avoid silicone-heavy products, and anchor with bobby pins crossed in an X-shape—not parallel.
Can I achieve elegant hair bun designs with short hair?
Yes—if you have at least 6 inches. Use mini claw clips disguised under twisted sections or opt for a half-up faux bun with extensions tucked discreetly.
What’s the fastest way to elevate a basic bun?
Loosen the crown slightly, wrap one face-framing strand around the base, and secure with a pearl-tipped pin. Instant polish.