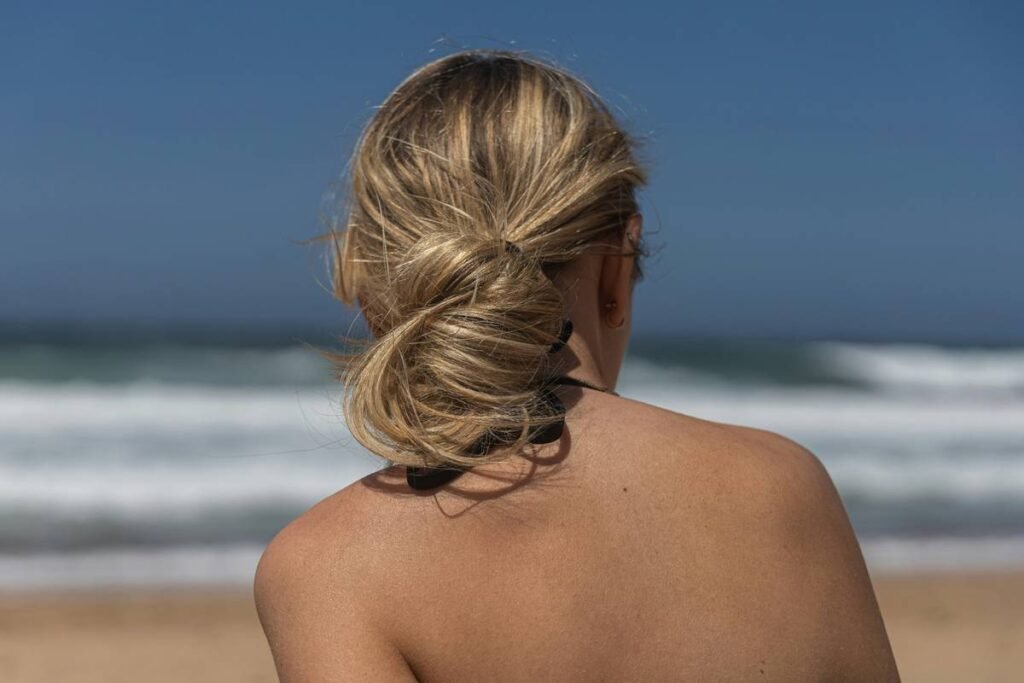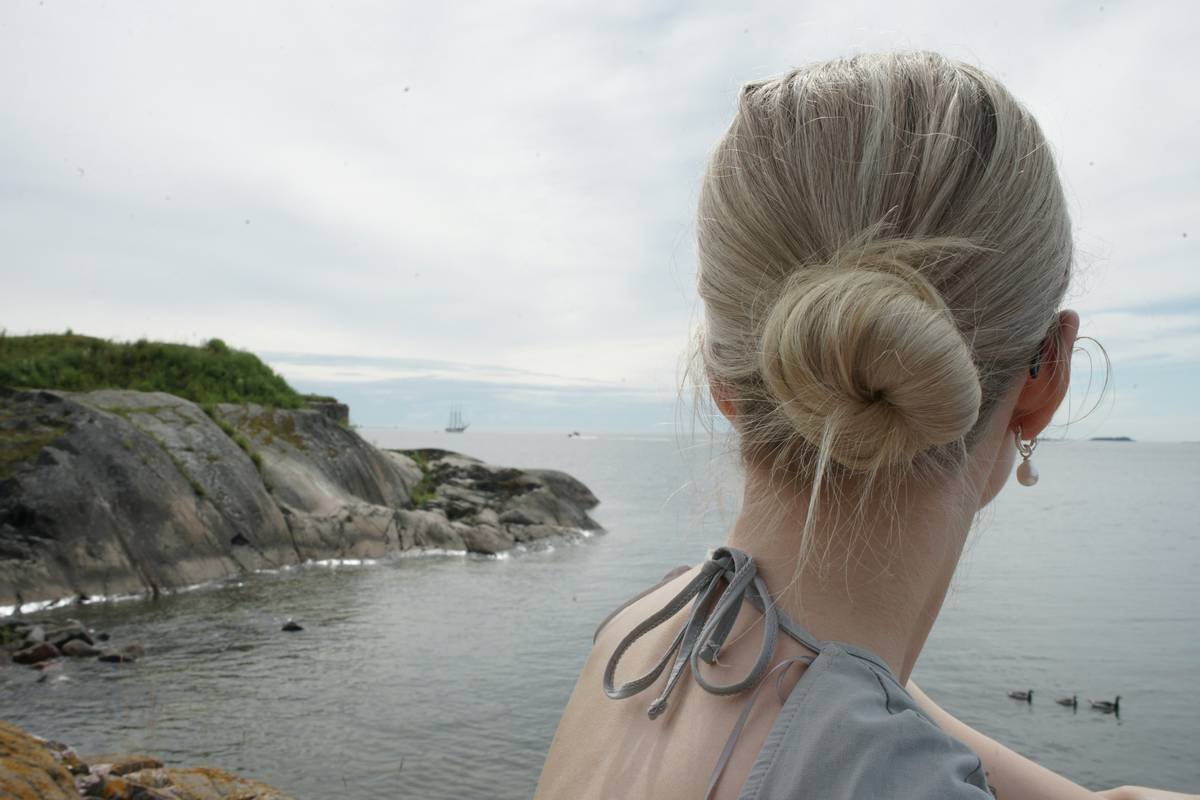
You spend 20 minutes twisting, pinning, and tucking—only to end up with a lopsided mess that unravels by noon. Frustrating? Absolutely. A sleek, polished bun should signal confidence, not chaos. The good news: achieving salon-worthy polished bun designs isn’t about fancy tools—it’s about precision, tension, and knowing what most stylists won’t tell you.
Why Your Polished Bun Keeps Failing (And It’s Not Your Fault)
Most tutorials assume your hair behaves like a mannequin’s—thick, uniform, and obedient. Real hair? It’s layered. Frizzy at the crown. Slippery near the nape. You can’t just “wrap and go.” And those donut-shaped bun makers? They create volume at the cost of structure—resulting in buns that puff out instead of pulling in.
Here’s the reality: tension distribution matters more than product. If your base isn’t anchored correctly from root to tip, gravity wins every time.
Mastering Polished Bun Designs: A Step-by-Step Ritual
Forget rushed hacks. This is a three-phase approach used by red-carpet stylists—adapted for daily wear without the $300 price tag.
Prep Like a Pro: The Foundation Matters
Start with second-day hair—it grips better. If freshly washed, add texture spray at the roots. Brush hair into a tight ponytail at your desired height: low for sophistication, mid for balance, high for drama. Use a boar-bristle brush to smooth flyaways without flattening volume.
The Twist-and-Tuck Technique
Split your ponytail into two equal strands. Twist each away from your face, then wrap them around each other—like making rope. Coil this twisted rope tightly around the base. Tuck the ends underneath, not outward. Secure with crisscrossed bobby pins angled downward—they vanish into the scalp and grip harder.
Lock It In Without Slicking It Down
Avoid heavy gels—they create helmet head. Instead, dip a toothbrush in light-hold hairspray and tame baby hairs along the hairline. For extra hold on fine hair, spritz the underside of the bun before pinning—it dries invisible but adds grip where you need it most.

| Method | Hold Duration | Best Hair Type | Effort Level |
|---|---|---|---|
| Classic Rope Twist Bun | 8–12 hours | Medium to thick, straight or wavy | Moderate |
| Pinwheel Low Chignon | All day + humidity-resistant | Fine or slippery hair | High |
| Donut Bun Maker | 3–5 hours (slips over time) | Thin hair needing volume | Low |
| Naughty Knot (Messy-but-Structured) | 6–8 hours | Curly or coily textures | Easy |
The Industry Secret: Work Against the Grain (Literally)
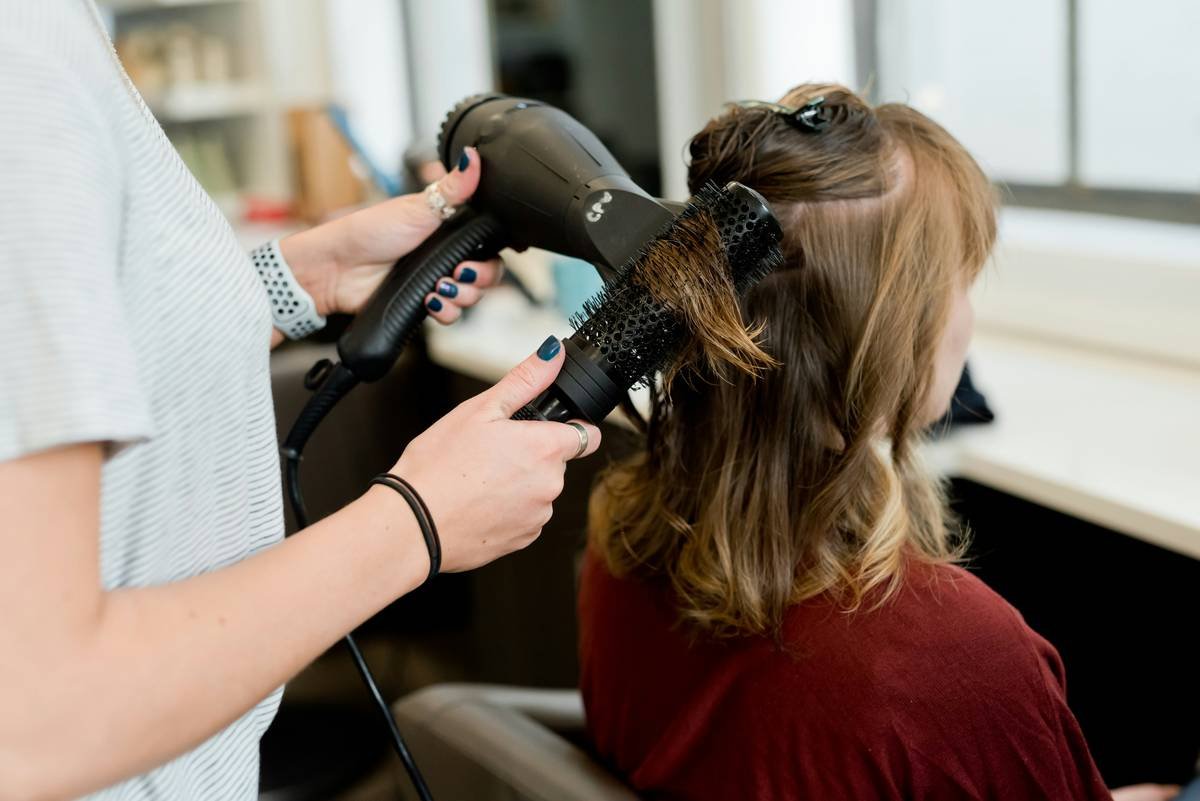
Top session stylists do something counterintuitive: they backcomb the underside of the ponytail before coiling. Not the surface—just the hidden layer. This creates micro-tension that locks the twist in place without puffing up the silhouette. Do it only on dry hair, using a teasing comb with narrow teeth, and limit it to 2–3 gentle strokes. Too much = frizz volcano. Just enough = invisible scaffolding. Most YouTube tutorials skip this because it “looks messy” in quick demos—but backstage at fashion week? It’s standard practice.
Frequently Asked Questions
Can I achieve polished bun designs with short hair?
Yes—if your hair reaches at least earlobe length. Use mini spin pins instead of bobby pins, and wrap smaller sections tightly. Focus on a low nape bun for maximum hold.
How do I stop my bun from flattening by midday?
Anchor the base first. Spray dry shampoo under your ponytail before wrapping—it absorbs oil and adds grip. Avoid touching it; every adjustment loosens the coil.
Are there heatless ways to prep for a polished bun?
Absolutely. Sleep with hair in a loose braid the night before. It creates subtle bends that help the twist hold shape without looking crunchy or stiff.