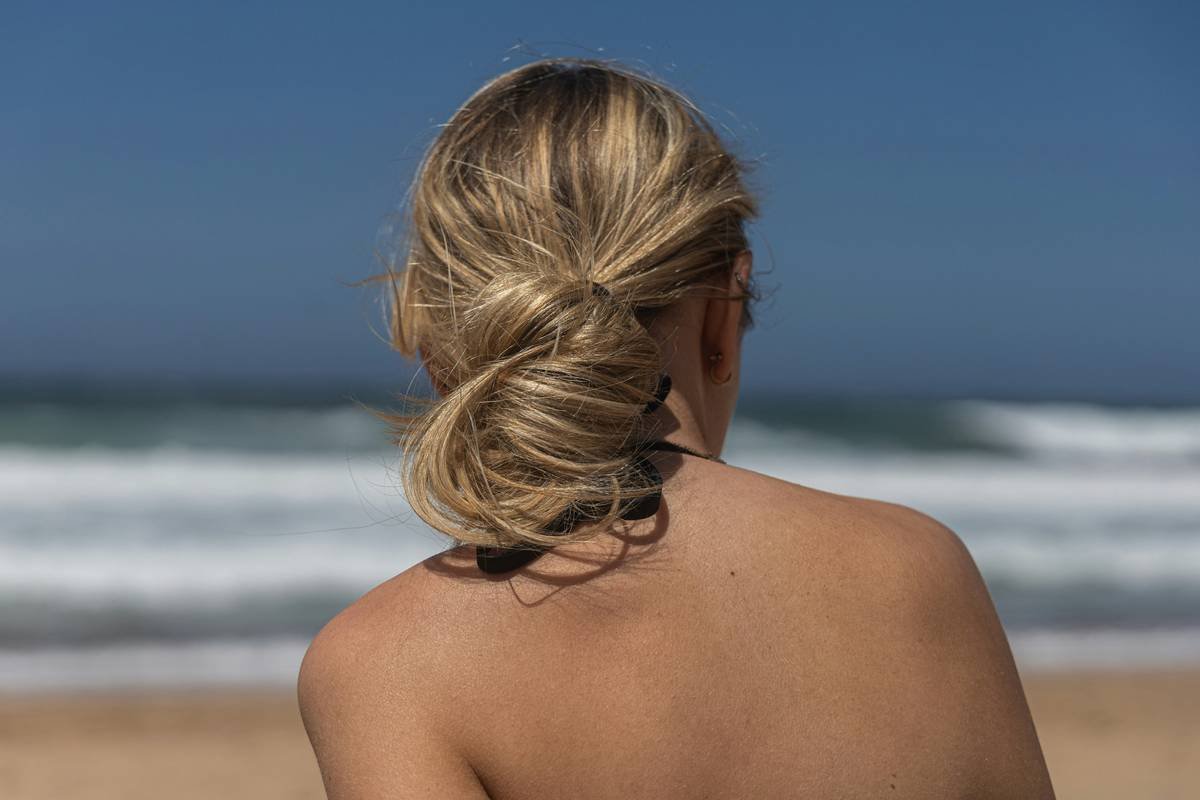
You spend 20 minutes crafting the perfect twisted bun—only for it to sag by lunchtime. Frizz escapes. The twist unravels. And those promised “all-day hold” tutorials? They skip the real problem: most hair just won’t cooperate with textbook techniques. Here’s the fix: structure over style. Master tension, not just twisting.
Why Your Twisted Bun Hairstyles Keep Failing
Most guides treat hair like rope—just twist and tuck. But hair has memory, texture, slip. Fine strands slide. Thick curls resist uniform tension. And humidity? It laughs at hairspray.
The real issue isn’t your skill. It’s that standard methods ignore anchor points. Without strategic grip near the scalp and mid-shaft, even the tightest twist collapses under its own weight. You’re fighting physics—not technique.
How to Build a Twisted Bun That Lasts
Forget “twist and go.” This method builds scaffolding first. Works on straight, wavy, curly—even freshly washed hair.
Prep Like a Pro (Not an Influencer)
Dampen hair slightly—not wet, not dry. Spritz roots with texturizing spray. This adds grip without stiffness. Then, apply a rice-grain amount of lightweight mousse from ears down. Distribute evenly. No globs.
Twist With Directional Control
Split hair into two equal sections. Twist each away from your face—clockwise on the right, counter-clockwise on the left. Why? Opposing tension creates natural cohesion when you merge them. Keep twists firm but not brittle. Stop 2 inches from ends.

Secure the Core—Then Embellish
Cross the two twisted strands, wrap once around your index finger to form a coil, then pin through the base, not the surface. Use U-pins diagonally—they lock better than bobby pins. Only after anchoring the core do you tuck ends or add volume.
| Method | Hold Duration | Best Hair Type | Pins Required |
|---|---|---|---|
| Classic Twist + Tuck | 2–4 hours | Medium-thick, slightly dirty hair | 6–8 bobby pins |
| Double-Twist Anchor (Our Method) | 8+ hours | All types, including fine or freshly washed | 2–3 U-pins + 2 bobby pins |
| Elastic-First Wrap | 3–5 hours | Thick, coarse hair | 1 elastic + 4 pins |
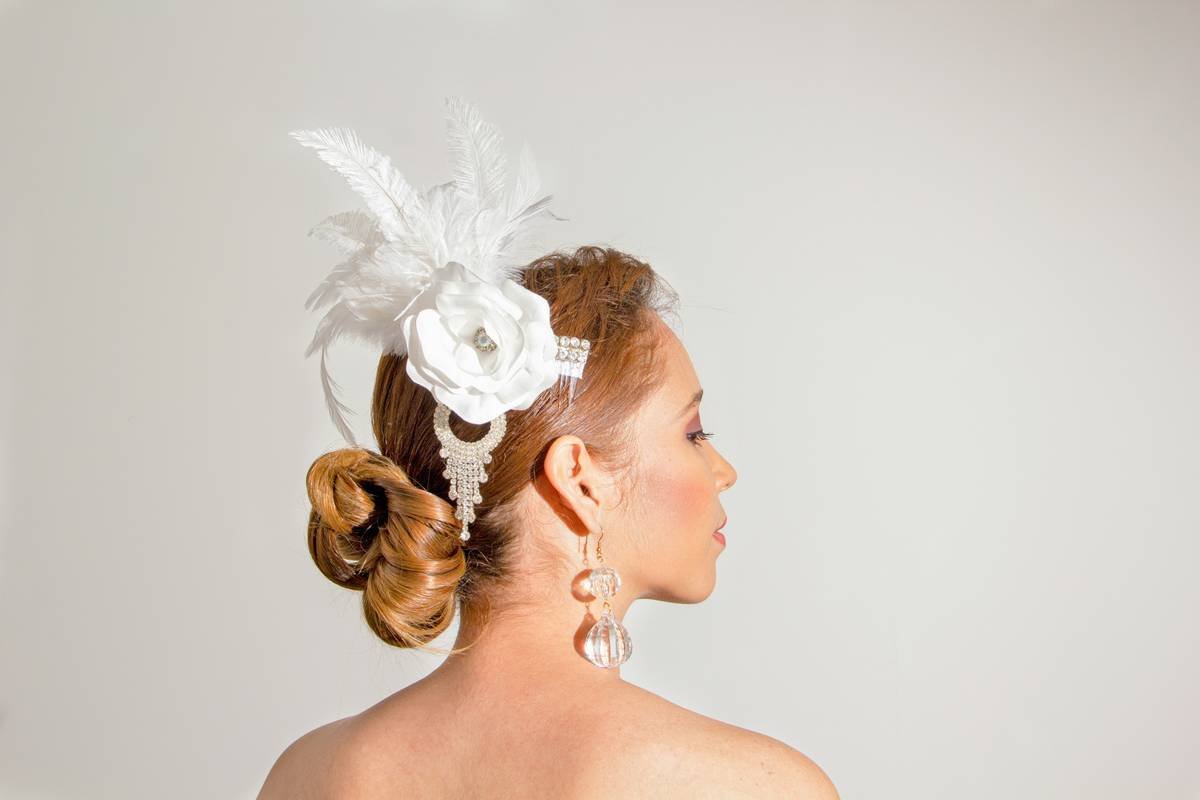
The Salon Secret Nobody Tells You
Here’s what top stylists do off-camera: they pre-shape the bun before twisting. Take a small section from the crown, twist it tightly, and pin it flat against the head as a “platform.” Now build your main twisted bun over this base. The result? Elevation without bulk, and zero slippage at the root line. It’s architectural—not decorative. And it works even if your hair refuses to hold a ponytail.
Frequently Asked Questions
Can I do twisted bun hairstyles on short hair?
Yes—if hair reaches at least earlobe length. Use mini U-pins and focus on twisting only the lower half; let the top stay loose for a half-up effect.
Do I need special products for twisted bun hairstyles?
Not really. A texturizing spray and light mousse beat heavy gels. Avoid oils—they make twists slide apart within minutes.
Why does my bun look messy instead of sleek?
Over-twisting causes frizz. Stop twisting when strands start springing back. Smooth outer layers with a boar-bristle brush dipped in dry shampoo.